At the end of April I moved from Calgary to Oliver, BC. This is a temporary setup while I work on a more permanent place nearby. As such, I needed to avoid making any holes in the walls which presented some challenges. I decided it would be easiest and most cost effective to bring the treatment from by previous room across the 9 hour drive rather than try to sell that off and then build from scratch.
I managed to get roughly a week of down time to get up and running with Atmos. It took around 4 days to get set up for stereo and then another 3 days or so to get Atmos going. Some changes and additional treatment were added over the next week or so but at that point I was all ready to get back to work.
In addition to moving and getting set up, I took this opportunity to work on a long list of changes I needed to make in my system which included the move from 7.1.4 to 9.1.4 (eventually 9.1.6 in my next space). The DSP platform I originally invested in unfortunately had a number of problems and the manufacturer of those custom boards wasn’t willing to acknowledge the problems or help me fix them. This resulted in me needing to replace those boards with miniDSP Flex units. The boards were built into the speakers so every speaker needed to be opened up, modified, and then recalibrated with an external miniDSP unit. I also made the move to my new surround speakers which I needed to build all of the amps for. Rather than build these into the speakers I decided to have these externally housed. In addition to essentially rebuilding all of the speakers, I also had to build new cables to connect to the miniDSP units. Lots to get done in 3 days (plus calibrating the system)! If anyone is interested I could write another blog post describing the gear I’m using in my system and how it’s all wired up.
I was fortunate to have the dimensions of this room before moving so I could plan things out and hit the ground running. Knowing that I’d inevitably run into problems while scrambling to get set up, I spent months planning out everything to be done so that I’d need to do as little thinking as possible during the week I had to get set up.
Being wider and with a slightly higher ceiling, in many ways this room was a step up from my previous room. Having the chance to start from scratch also allowed me to make changes to the treatment approach which I didn’t bother with in the previous room knowing I’d be leaving in the near future. The biggest downside to this room is the lack of isolation. Both to the rest of the house and to the outside. Unfortunately I won’t be able to do any kind of recording in this room. It’s somewhat of an advantage in that low end is more easily able to escape and not cause as many problems as when you’re in an underground bunker. Leakage outside from my room is minimal but I try to avoid working at night when it could be noticeable. Neighbors mowing the lawn and cars driving by can be quite annoying.
My first step was to create a model in SketchUp and prepare a plan of attack. In order to not put holes in the walls I decided to frame a structure which allowed me to both have the speakers and clouds overhead and hang the panels at the sides.
The first step was to figure out the largest listening triangle I could set up with the speakers being against the front wall and not too close to the corners. This ended up being a slightly smaller triangle than in my previous room but still close to a 2m listening distance.
Starting at the front of the room I put my 4 large DA10 panels across the corners. In the framed structure (not shown in the model) I used my DA3 panels. I stacked these to effectively create a DA6 with an additional diaphragm in the middle of the panel. There are 3 of these on each side. These were all hung from the top of the structure using some heavy duty zip ties.
On the ceiling I placed 8 DA3 panels down the middle in the 4 cavities of the structure with each having a stack of 2 in them. Rather than using zip ties I screwed on an additional 1x4 below them which the clouds rest on. The mounts for the height speakers attached to the 4 pieces which are perpendicular to everything else on the ceiling structure. In addition I added my 4 Newt panels (150 - 300Hz focused absorbers developed by Ken Goerres) on the ceiling towards the outside.
At the back I placed a DA10 and DA12 (on top of a storage cabinet). These sit out in the room directly behind the couch. All of the DA10 and DA12s use an experimental diaphragm material which seems to extend their performance down to 30Hz. I have limited experience with this material and it’s somewhat expensive so I’m not yet prescribing it in designs. Hopefully I can do more testing in the near future.
Aside from some additional treatment which I’ll discuss below, the biggest weakness in this setup is the back wall. In order to really tame that I’d need a substantial amount of treatment which I’m not planning to build for this temporary setup. The results far exceeded my expectations so I’m happy to live with a slightly less than ideal situation with the back wall. The DA10 and DA12 there are surprisingly effective even though their surface area is very small compared to the surface area of the back wall.
Originally I was planning to set up a sub in the room and take measurements as I built out the room but I didn’t have time to do so and the room was quite a mess while building it out so the measurements wouldn’t really be useful. I’d need to move everything out of the room and slowly bring it back in which I didn’t have time for.
On to some pictures…
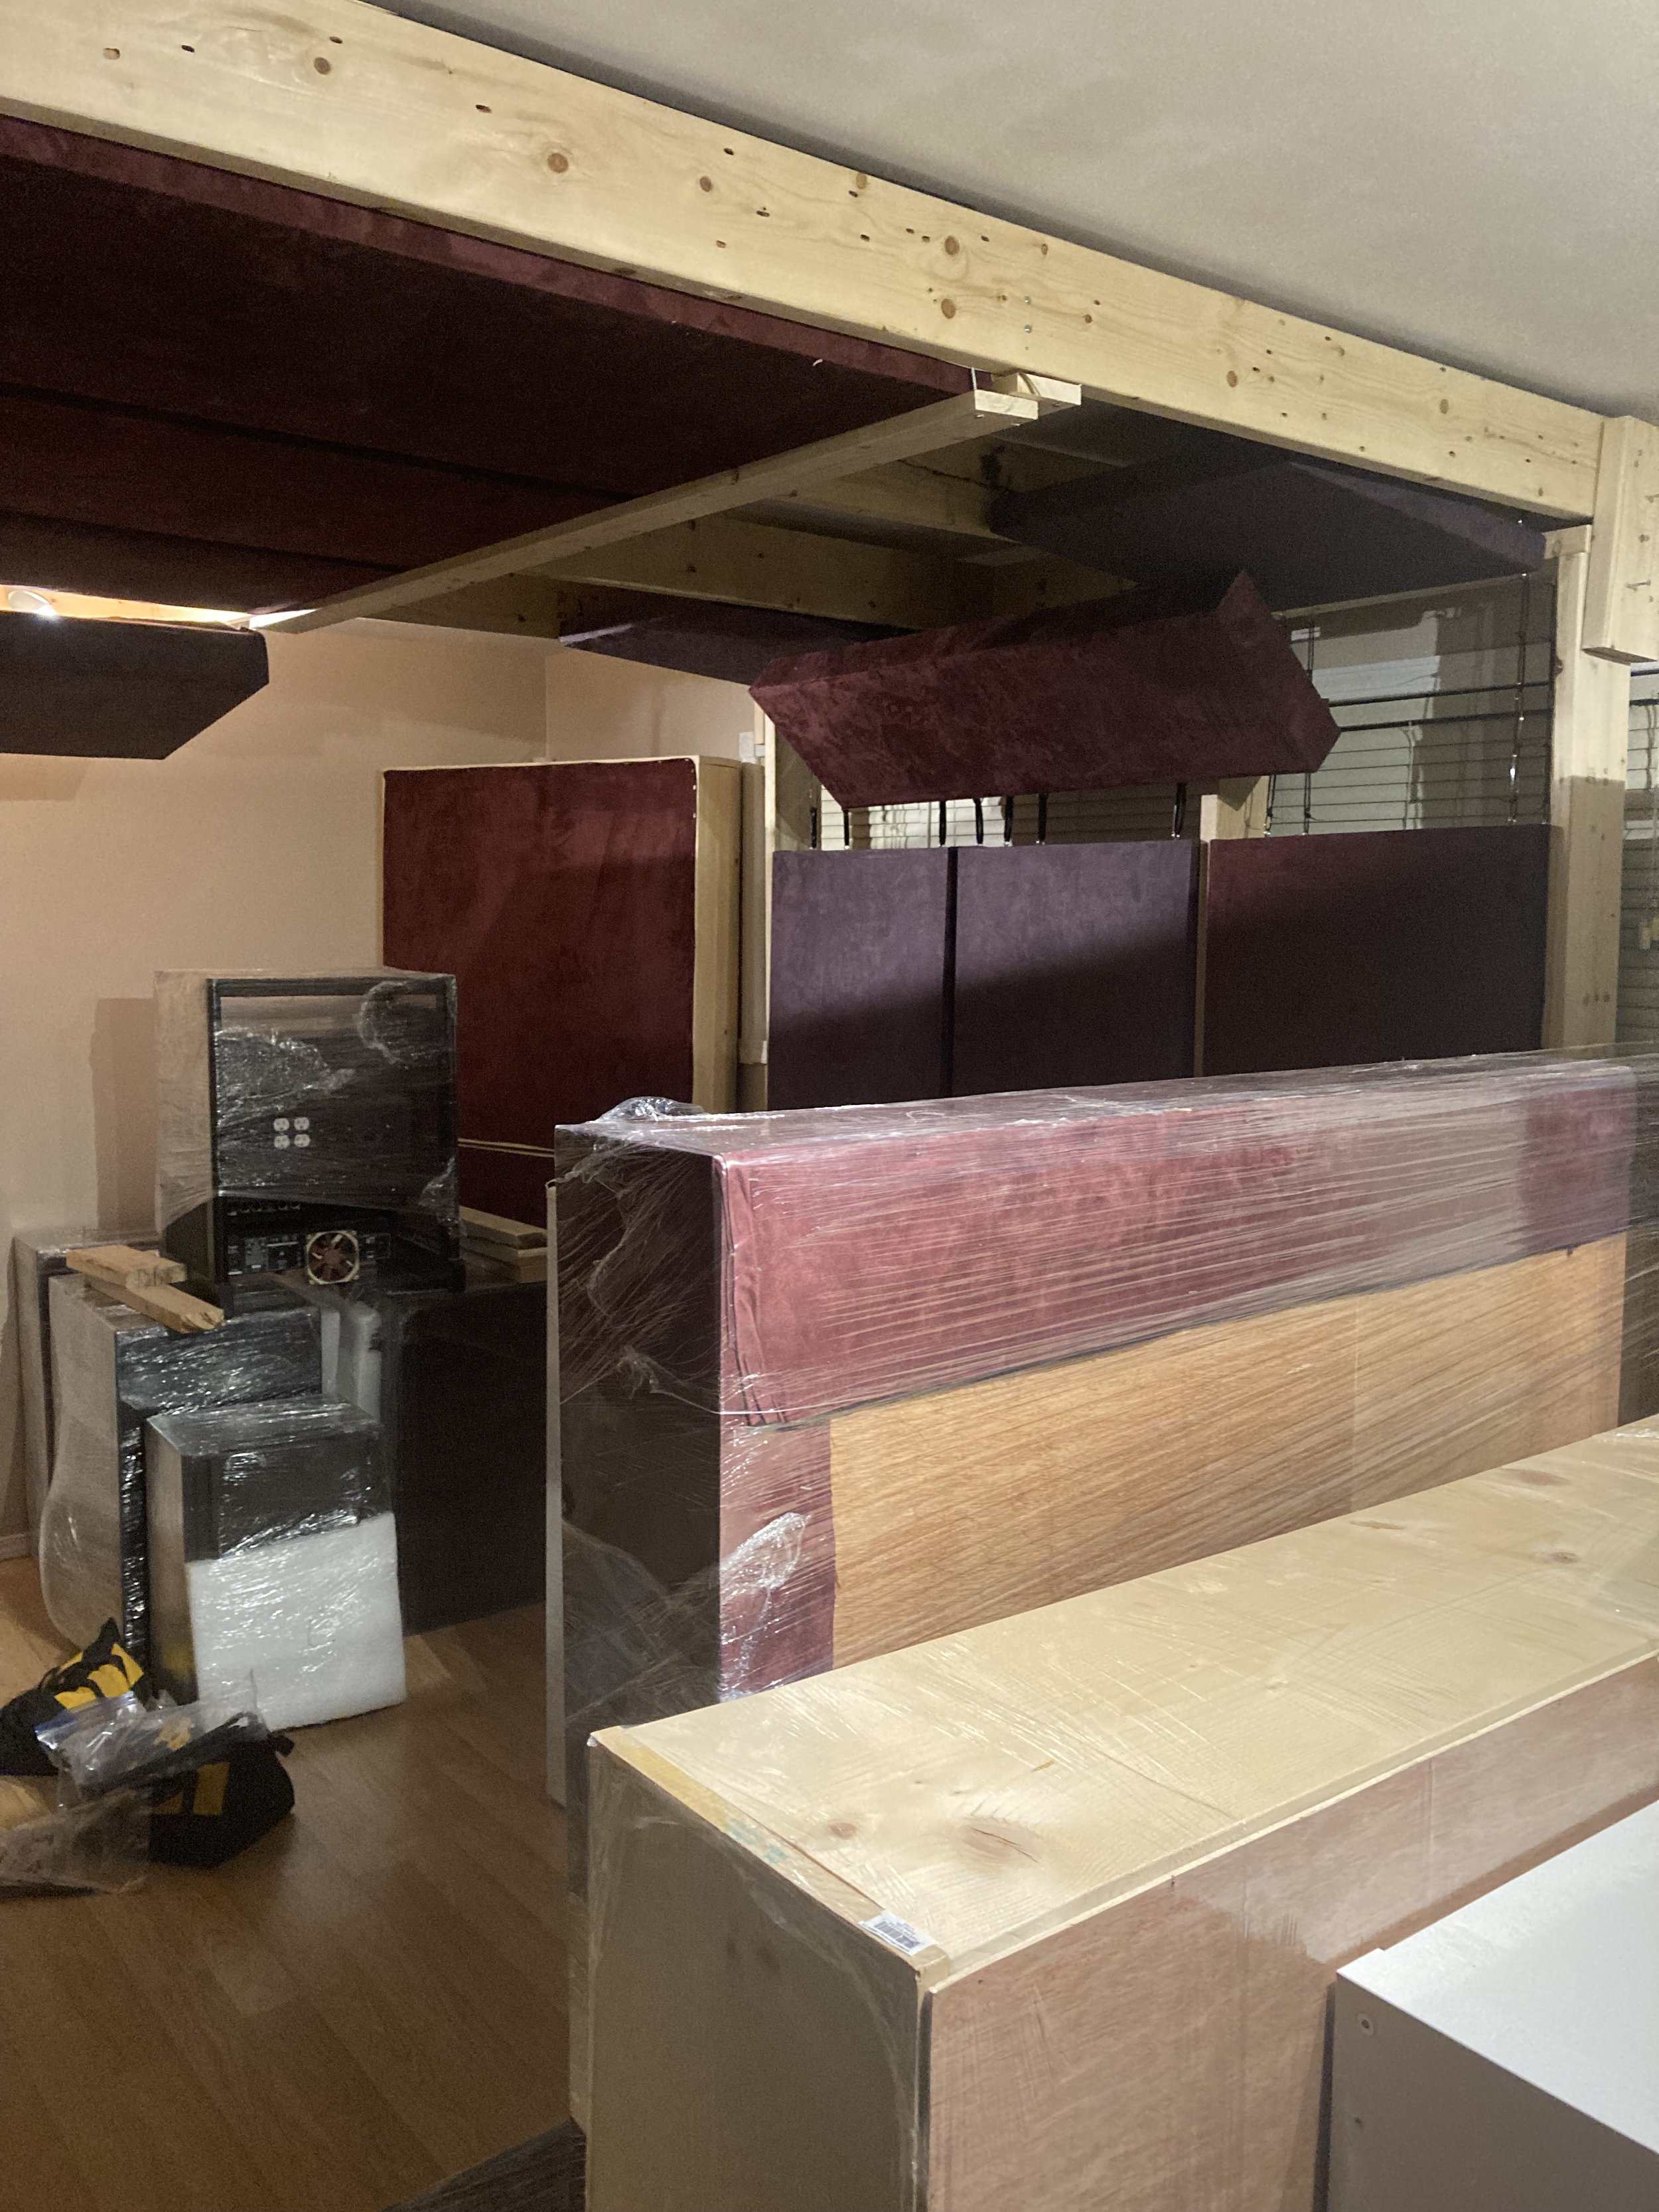
Lots to pack
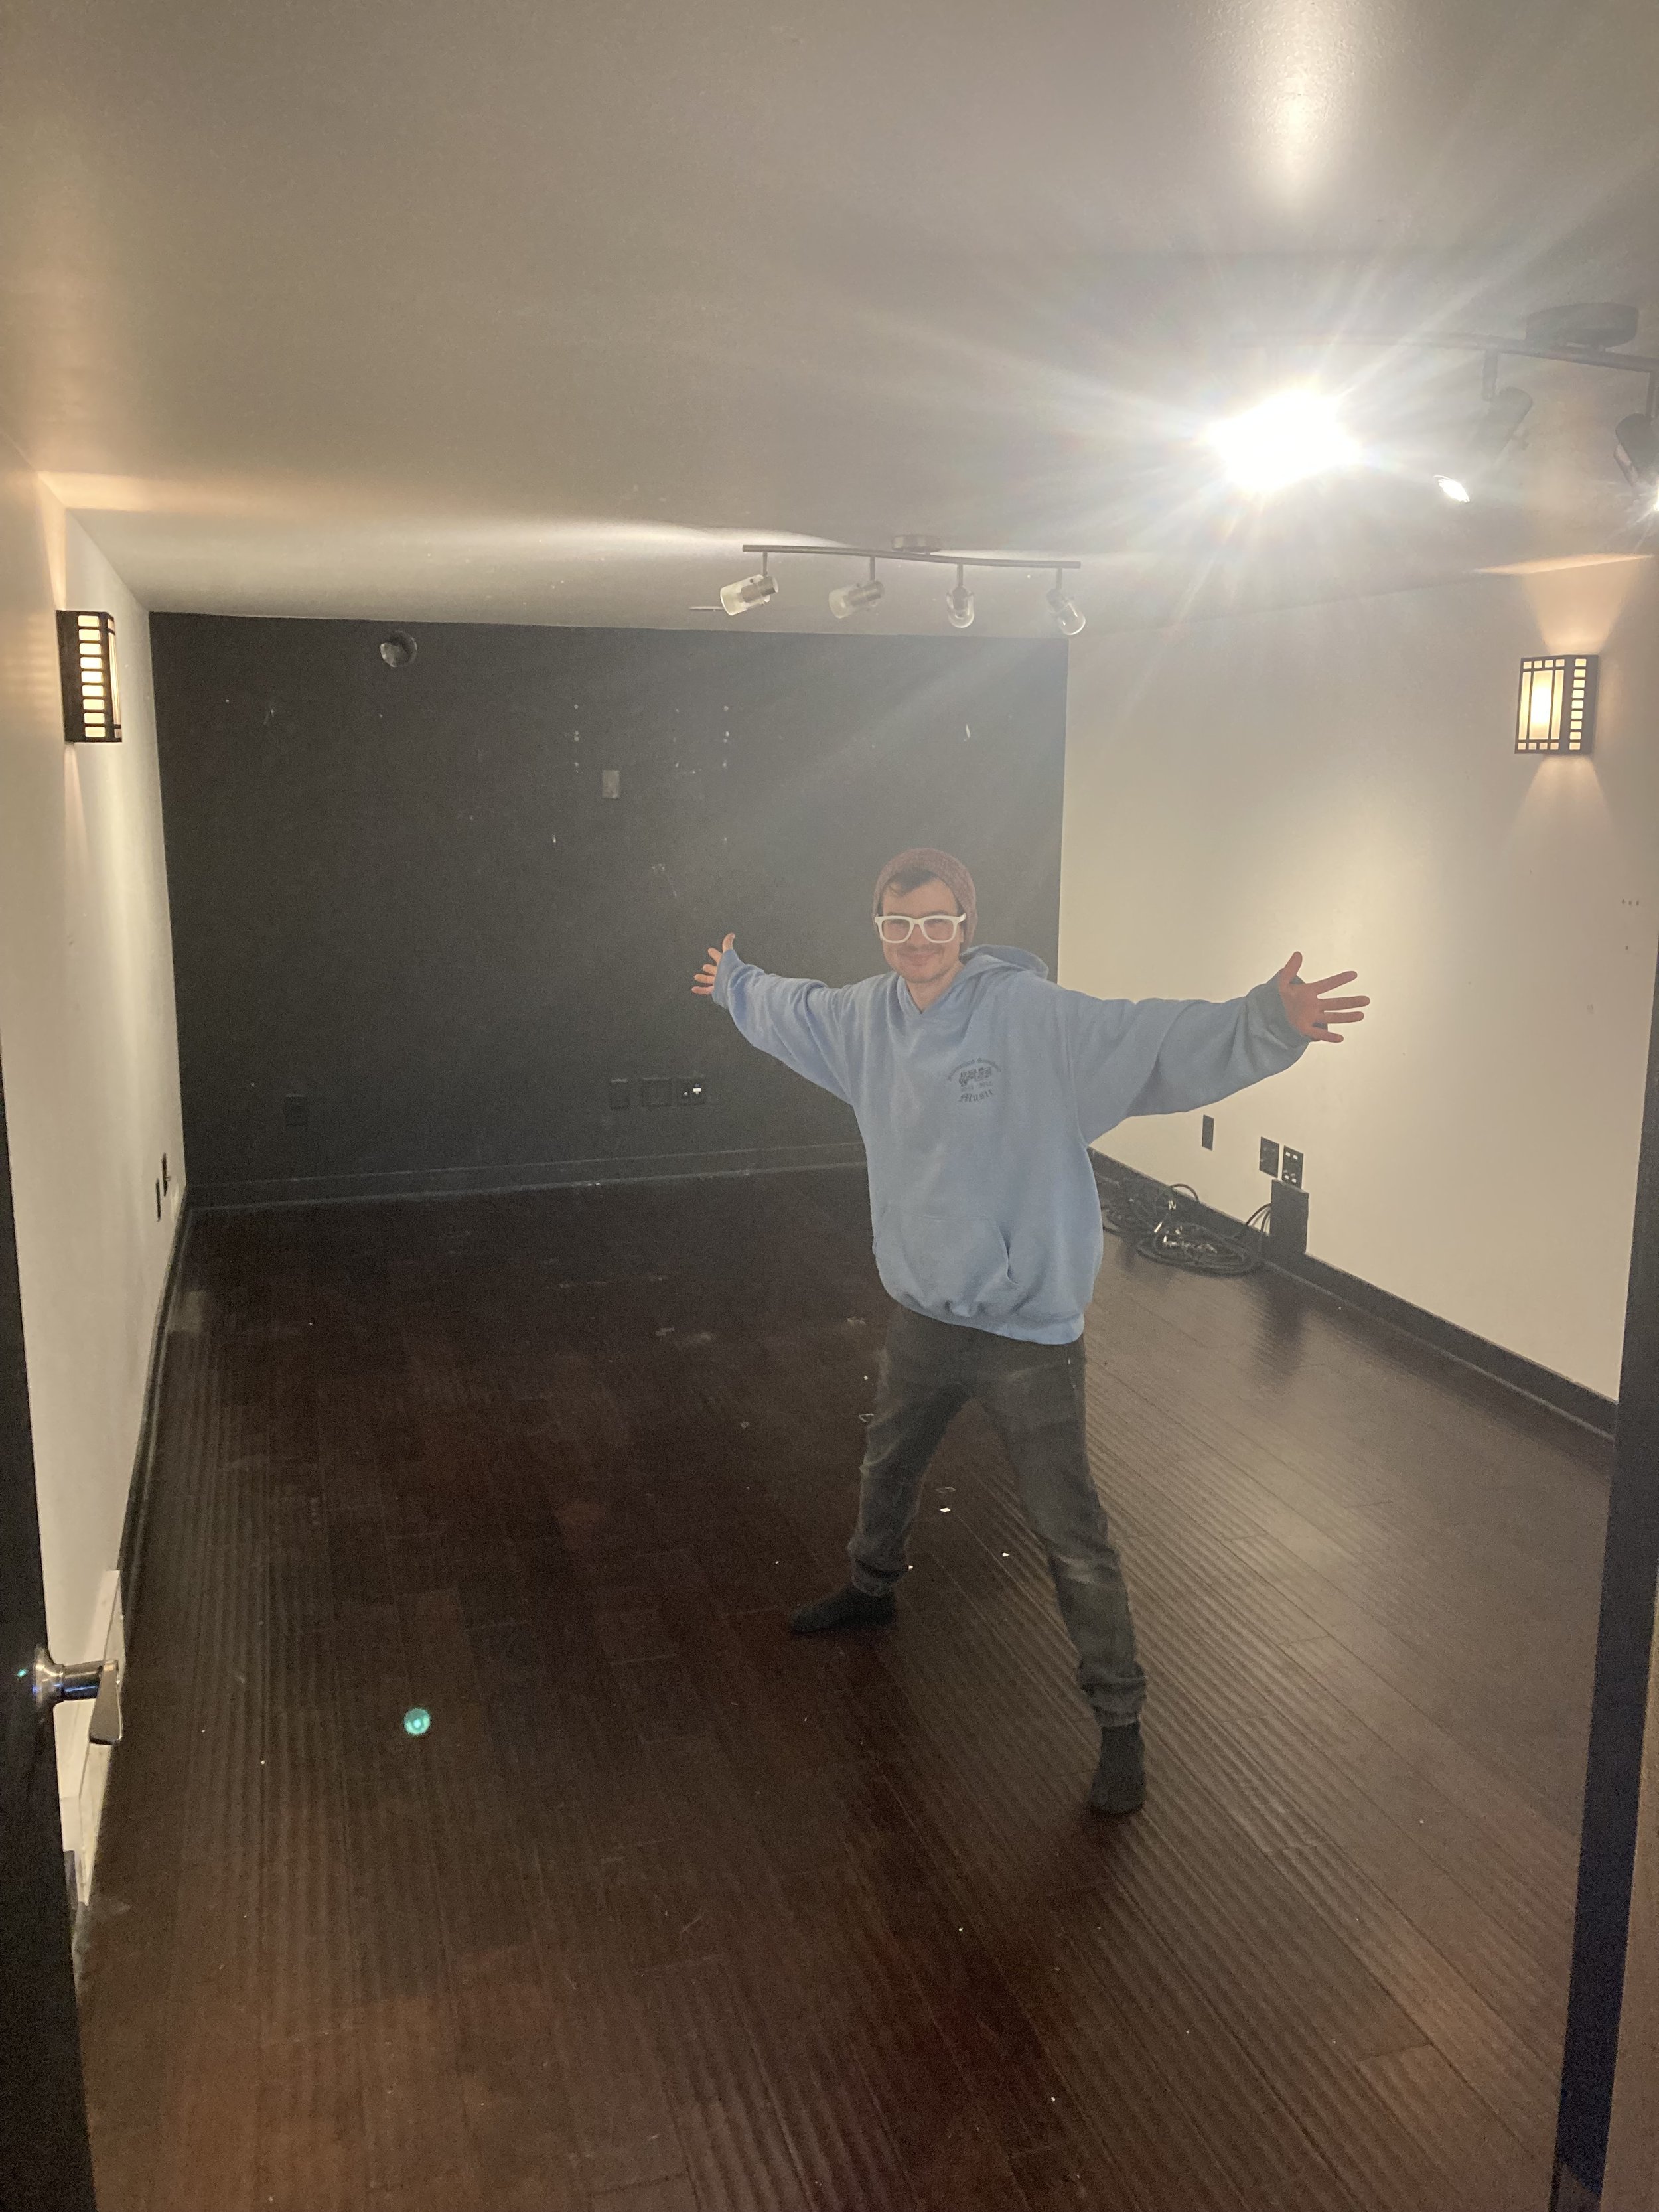
Eren showing off the empty room
Making the beautiful drive across the Rockies
Truck unloaded
Structure getting built
I built the 2 walls and ceiling sections separately. To get it all together I had 2 people lift up the ceiling section while 2 people carried in each side. Then it was all screwed together at the ends. It’s not the sturdiest structure but it works. The walls sit on rubber feet to not damage the floor. There’s a 1” gap to the side walls and ceiling.
Front corners and clouds up
Speakers starting to go up
Modifying the electronics for the main speakers
Lots of cables
Slowly getting there and surrounds starting to go up
More speakers to modify
More speakers getting set up. Thankfully had Eren to help although I’ve hung speakers and clouds up on my own far too many times
At this point I had everything set up and was getting back to work. Unfortunately there were some things in the imaging that were bothering me along with some not so great dips in the low end. There were a few areas without treatment which this could be attributed to - ceiling directly above the speakers, reflection point on the ceiling towards the side (panels were only covering the center area), a small bit of exposed wall at the sides above the wide speakers, the front wall, and reflections from the L/R speakers off of the center speaker which was now sitting a little farther forward than in my previous room.
Over the next few weeks I added some more treatment which fixed these issues. Most notably was the area directly above the speakers. I built a “bridge” that rests on top of the front corner panels. On top of this is 9” of rockwool spanning the entire width of the room. In order to not spend a fortune on fabric I just wrapped these new panels in burlap. This front section made a massive improvement to the dips I had.
Next up I added just 3” of rockwool bridging the reflection points on the ceiling between the new bridge and the main framed structure. This along with the bridge solved most of the imaging issues I was having. Some additional rockwool was stuffed above the wide speakers but this had a negligible effect.
To deal with the reflections off of the center speaker I came up with some elaborate ideas to strap some treatment onto it but ultimately I just glued on some thick felt. I was shocked by the difference this made. My speakers are already more directional than most but even then, it made a huge difference to the imaging and cleared up some harshness I was hearing. Just goes to show that even what may not seem like it’s directly in the firing path of the speakers matters.
“Bridge” holding up 9” rockwool bales
0.5” felt added to speakers
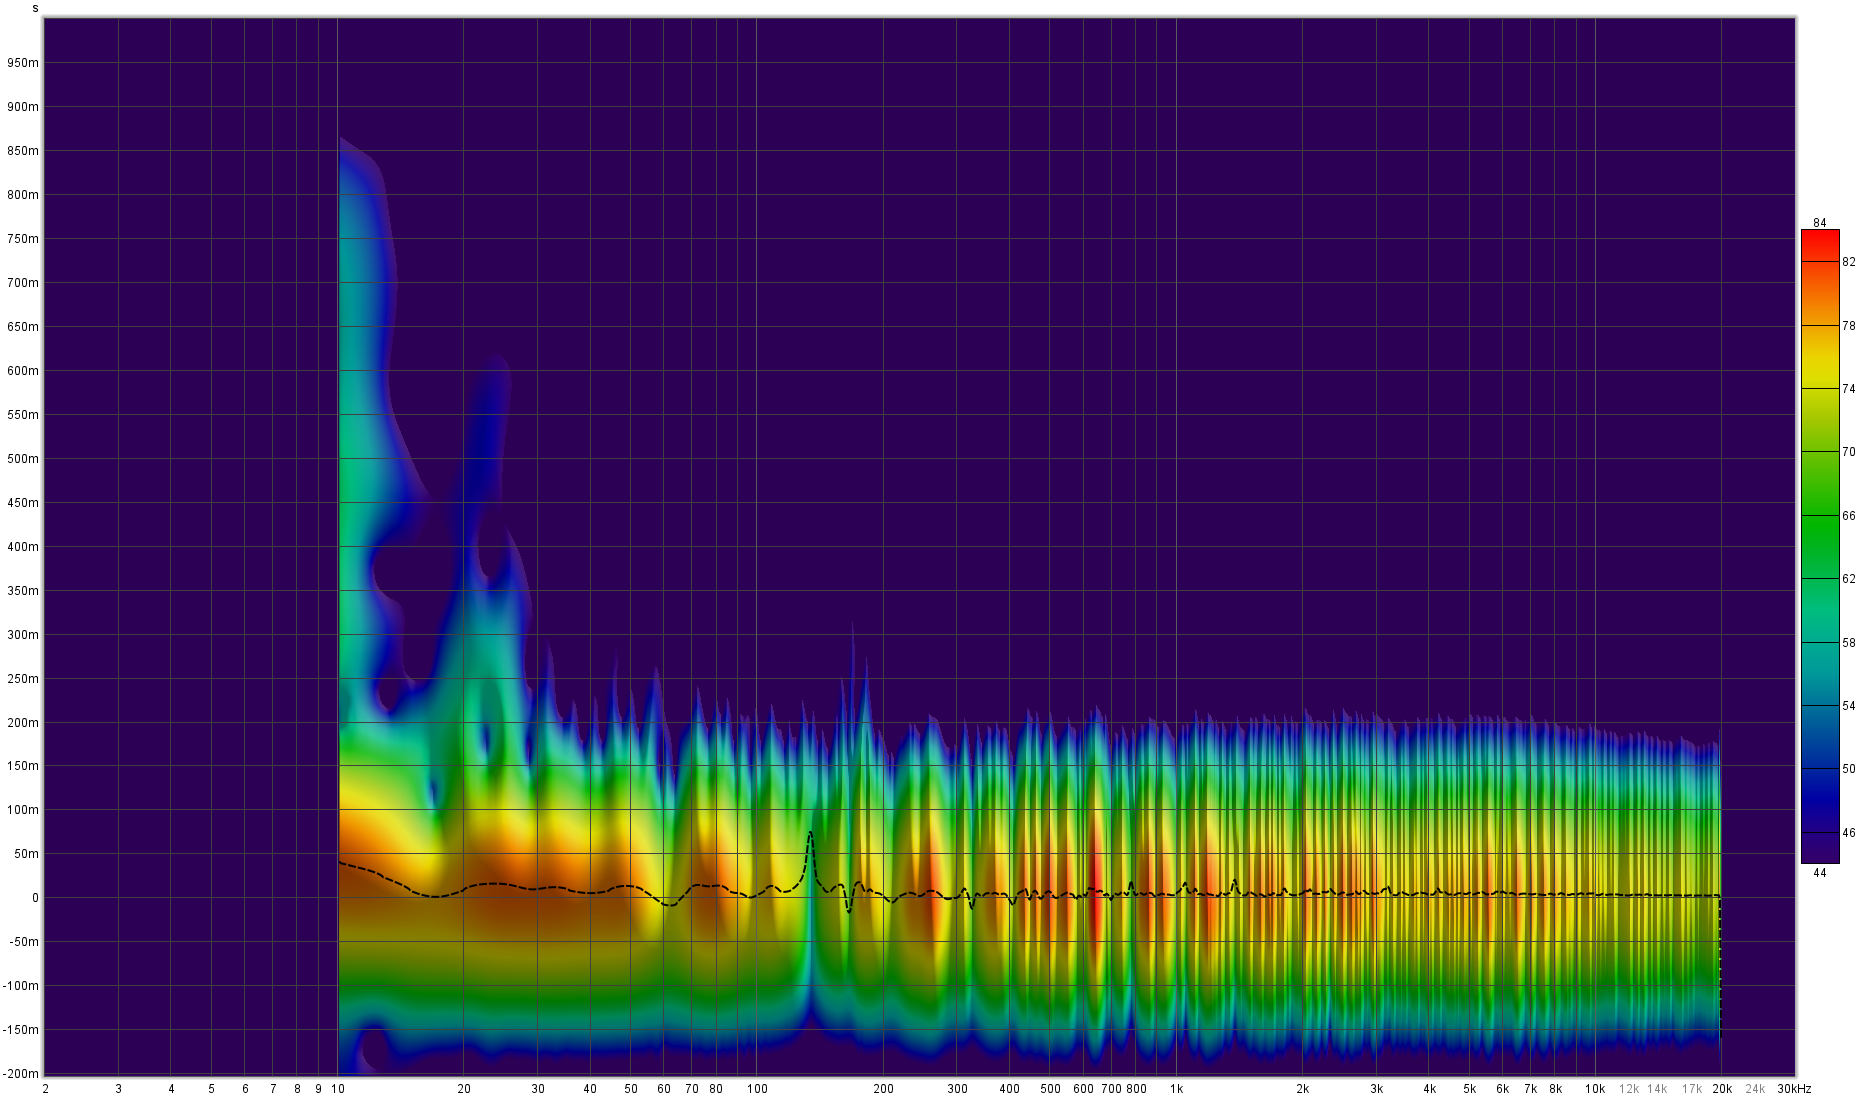
Spectrogram of left speaker - things in pretty good control with output flat down to below 10Hz. Only small problems left are dips at around 60Hz and 140Hz which are a function of the back wall and floor. Not bad for a temporary setup
With these additional changes and treatment I didn’t feel any need to put treatment on the front wall. Things were sound great at this point. While most of the Atmos surrounds have quite a bit of room EQ on them, my left and right needed essentially no room EQ. I say essentially because they have EQ in them for the speakers themselves which I adjusted in this room (mainly a shelf on the bottom to extend the sealed subs) but I wasn’t compensating for anything in the room. The center speaker in particular doesn’t have a very pretty response since it’s in the center of the room both left-to-right and ceiling-floor.
Current state of things
Not a bad view. Summers hotter than LA won’t be fun though…


